In Unreal Engine, you may encounter the need to separate the 3D Viewport from the rest of the UI. The default 3D viewport overlays all widgets, leading to visual clutter. In this tutorial, we’ll demonstrate how the enhanced UI plugin can be used to separate the 3D viewport from UMG widgets while ensuring they work together seamlessly.
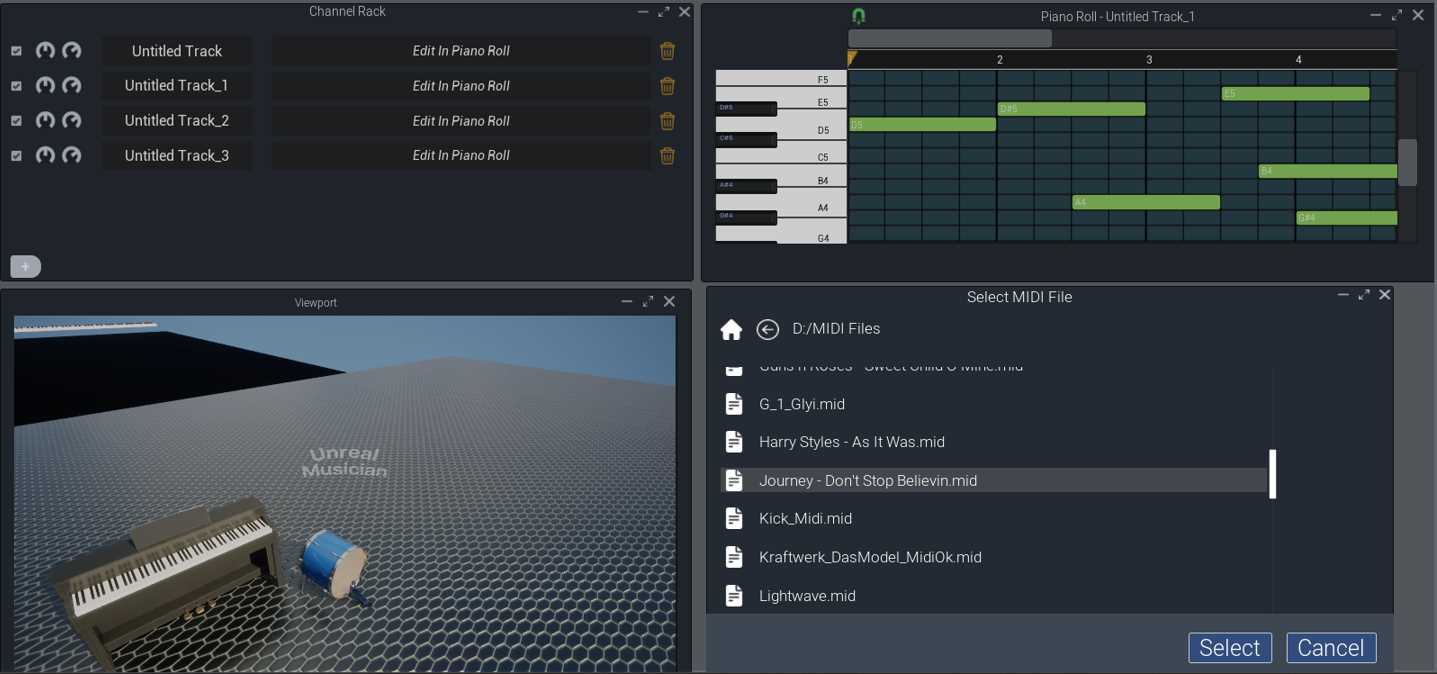
In order to do this , we simply steal the 3D Viewport that epic/ unreal engine already creates for us and place that in a UserWidget of our choosing. Allowing you to freely develop Application that area similar to Blender 3D, After Effects, and even unreal engine itself where the UI is separate from the Widgets that control it or the game play.
Setting The Viewport Client
The first step before opening our demo map is to change the Viewport Client in the unreal engine project settings. If we don’t do this, our viewport windows will complain and won’t take the viewport.

Go to your Project Settings and Search for “GameViewport Client” or simply find it under “Engine –> General Settings“.
Then simply set the Class to “AxEnhancedViewportClient“, or “AxEnhancedCommonViewportClient“
The AxEnhncedCommonViewportClient is supposed to be used when you have the Common UI enabled and are using its features… It simply inherits from the CommonUI ViewportClient and its the same functionality as the “AxEnhancedViewportClient“.
The Viewport Window Demo Map
Now lets take a look at the demo map located at :
EnhancedUI_Content/MainGUI/Maps/ViewportGUIMap
You must be in PlayInEditorWindow, StandaloneGame or In A packaged Game to see this effect. So use PlayInEditor Window.
In this map, we simply create the widget that is capable of hosting the 3D Viewport and capable of resizing it and move it around. Run this map, play around then let’s head over to the widget blueprints making all this happen.
EnhancedUI_Content/MainGUI/Blueprints

MainGUI and ViewportWindow Blueprints/Classes
The ViewportWindow Widget/Blueprint is the widget that is designed to host a 3D Viewport within it. If you want to customize how your Viewport host looks , customize this template like hide the buttons or change the colors etc. It inherits from AxViewportWindow so if you want to create your own , inherit from that.
MainGUI
MainGUI, for lack of a better term, is your application’s top most UserInterface, it should have the ViewportWindow widget as part of it, but you can add many other widgets to it as part of it.
The MainGUI, on begin play will take the 3D Viewport and place it within its’ child , the ViewportWindowWidget.
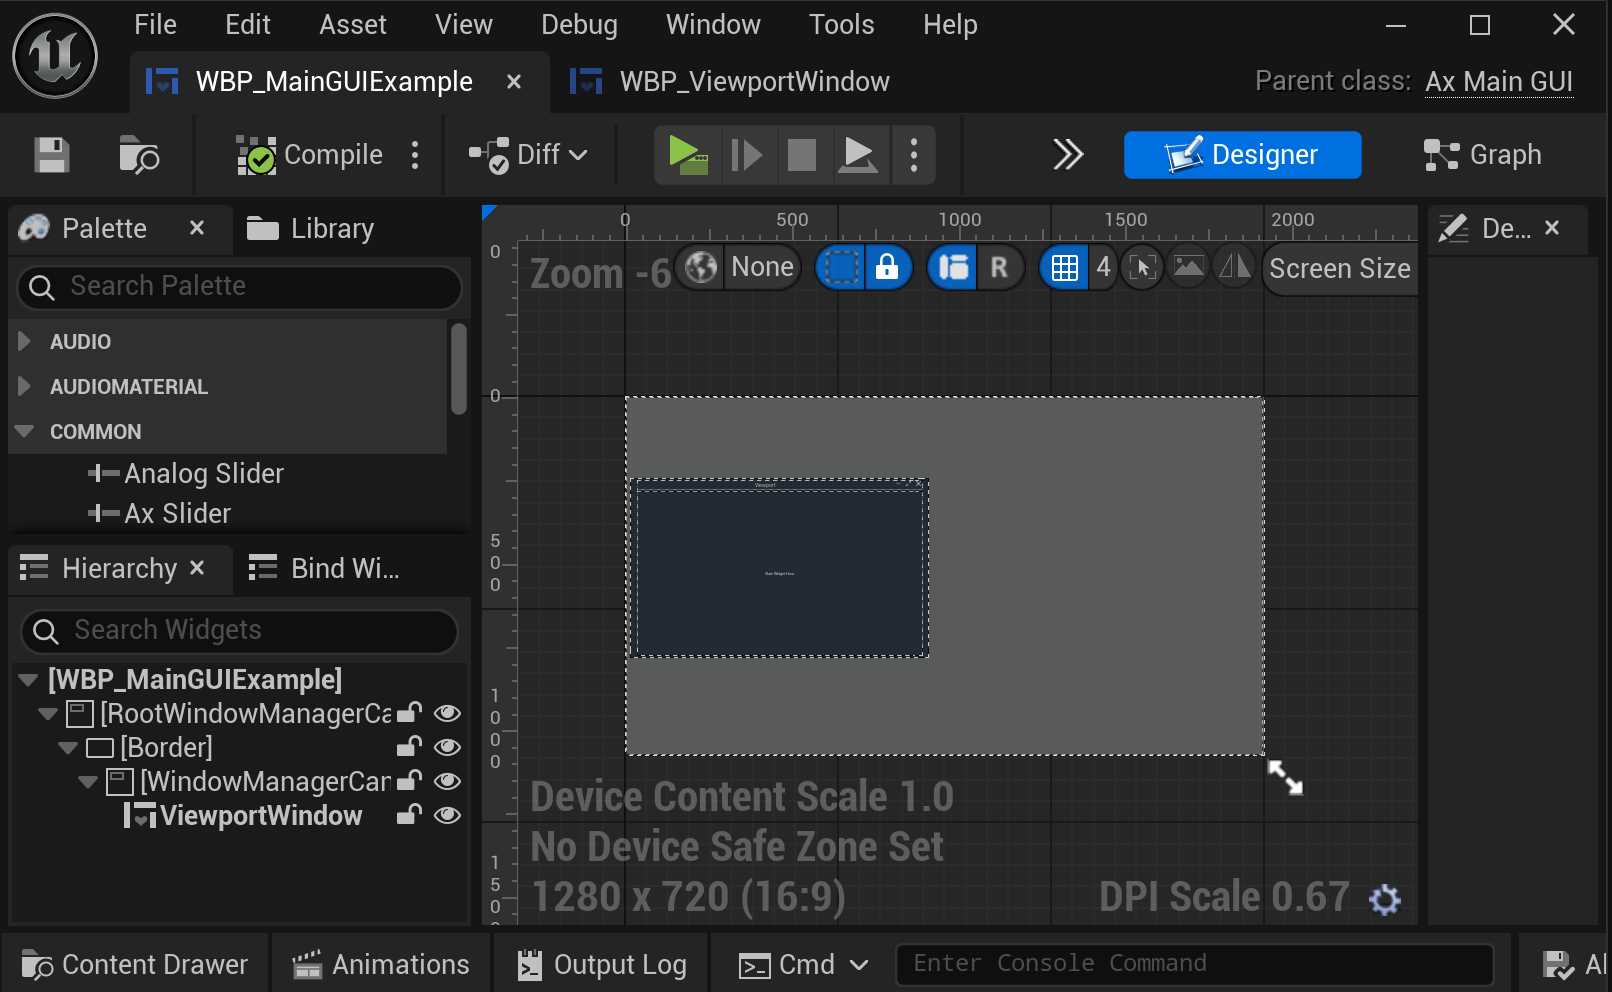
As you can see from the image above , we have the “ViewportWindow” as part of our widget.
That’s the window that will host the 3D Viewport…
Creating Main GUI Widgets
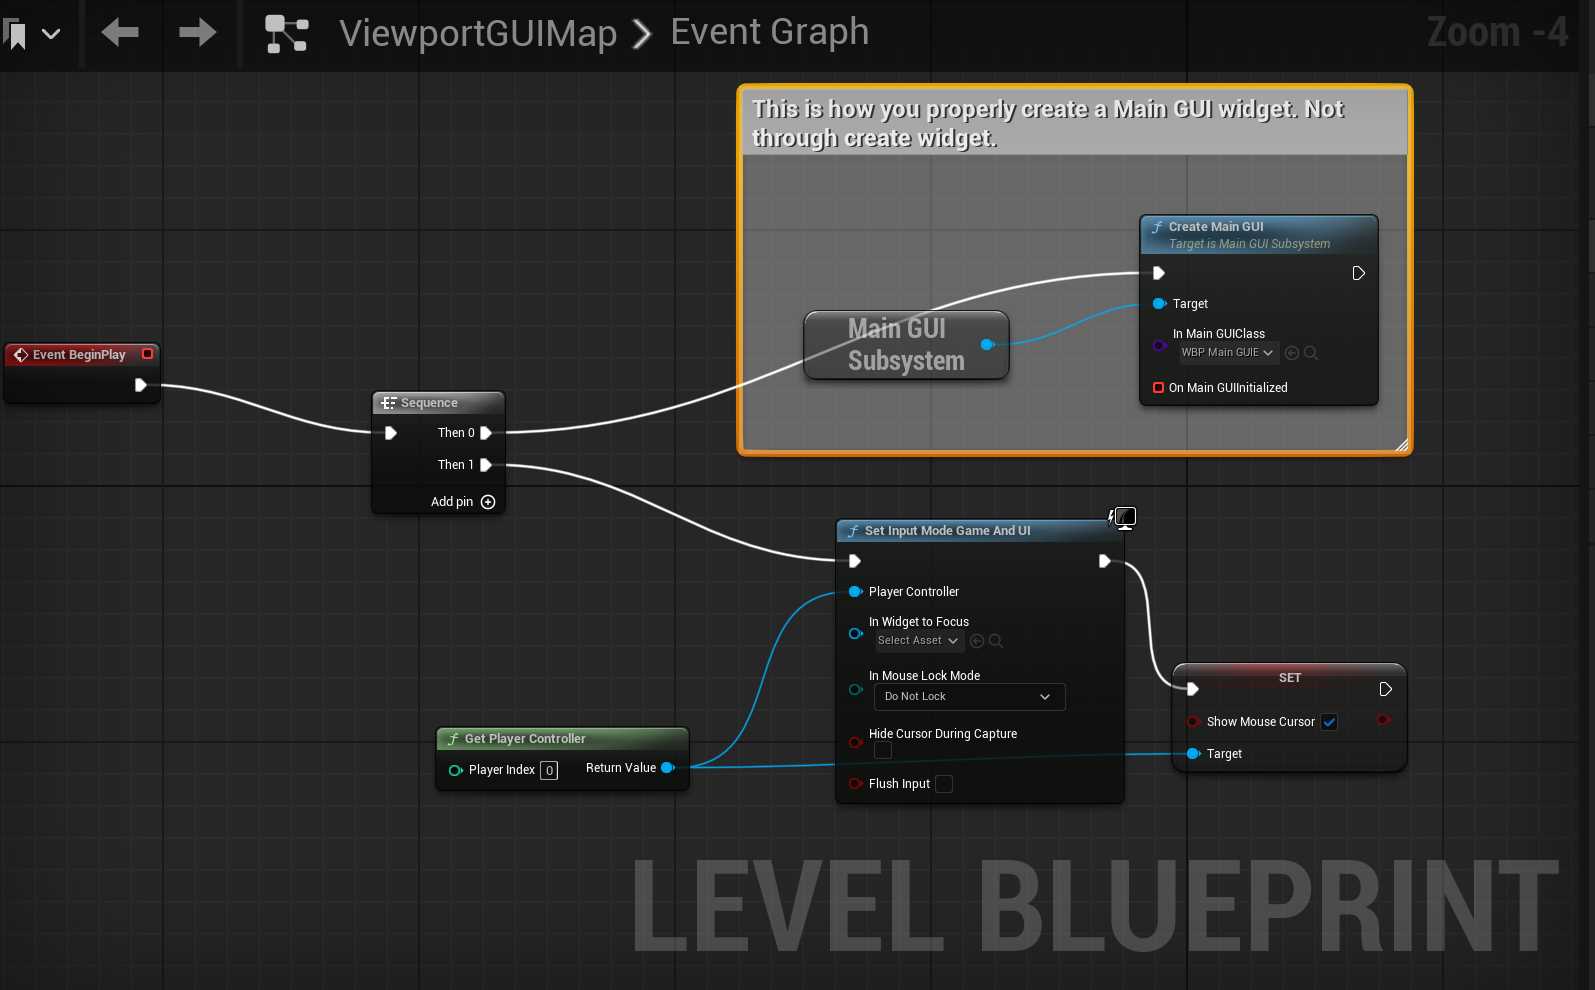
To ensure that MainGUI widgets behave as expected and properly take the 3D Viewport, you have to create them with the “CreateMainGUI()” function from the MainGUISubsytem. You can call this on begin play of your persistent level’s blueprint or anywhere you like.
What happens when you call "AddToViewport"
AddToViewport() function will behave as you’re used to when you call, it will add a widget to the 3DViewport thats hosted by our Host Window…
NB: you should never call “AddToViewport” with a MainGUI Widget. But you can with all other widget.
How to add more widgets to the MainGUI widget
You can add widgets normally using the widget designer or at runtime. At design time, its recommended you add them to the Window Manager Canvas, but really there is no hard rule on it. The same goes for runtime, Get the Window Manager Canvas and just add more windows to it. It will manage windows for you, like display order , minimizing , resizing etc… if they are SmartWidgets.
