Unreal Engine 5 presents a suite of advanced features designed to enhance game development, with the Movie Render Queue being a standout tool. Providing a more robust and flexible system for rendering high-quality cinematics, it stands as an excellent upgrade from the previous Sequencer’s Render Movie feature. This article will explore the depth of its capabilities and provide insights into how to maximize its potential.
Understanding the Movie Render Queue
The Movie Render Queue in Unreal Engine 5 is designed to produce high-fidelity and high-resolution cinematic sequences. It allows for a level of control and quality previously unavailable in real-time game engines. From high-quality anti-aliasing to post-process effects and high-dynamic range output, the Movie Render Queue offers developers numerous ways to take their cinematic scenes to the next level.
Anti-Aliasing with Temporal Sample Count
One of the key advantages of using the Movie Render Queue is its robust anti-aliasing feature. The “Temporal Sample Count” setting allows developers to dramatically increase the sample count, resulting in smoother, more realistic images.
High Resolution Output
The Movie Render Queue also provides support for high-resolution output. This means you can render sequences at 4K, 8K, or even higher, while maintaining Unreal Engine’s impressive real-time performance.
Post-Process Effects Control
With the Movie Render Queue, developers have advanced control over post-process effects. Whether you’re looking to fine-tune your depth of field, motion blur, bloom, or other visual effects, the Movie Render Queue gives you the tools to achieve your desired aesthetic.
Rendering UI Elements
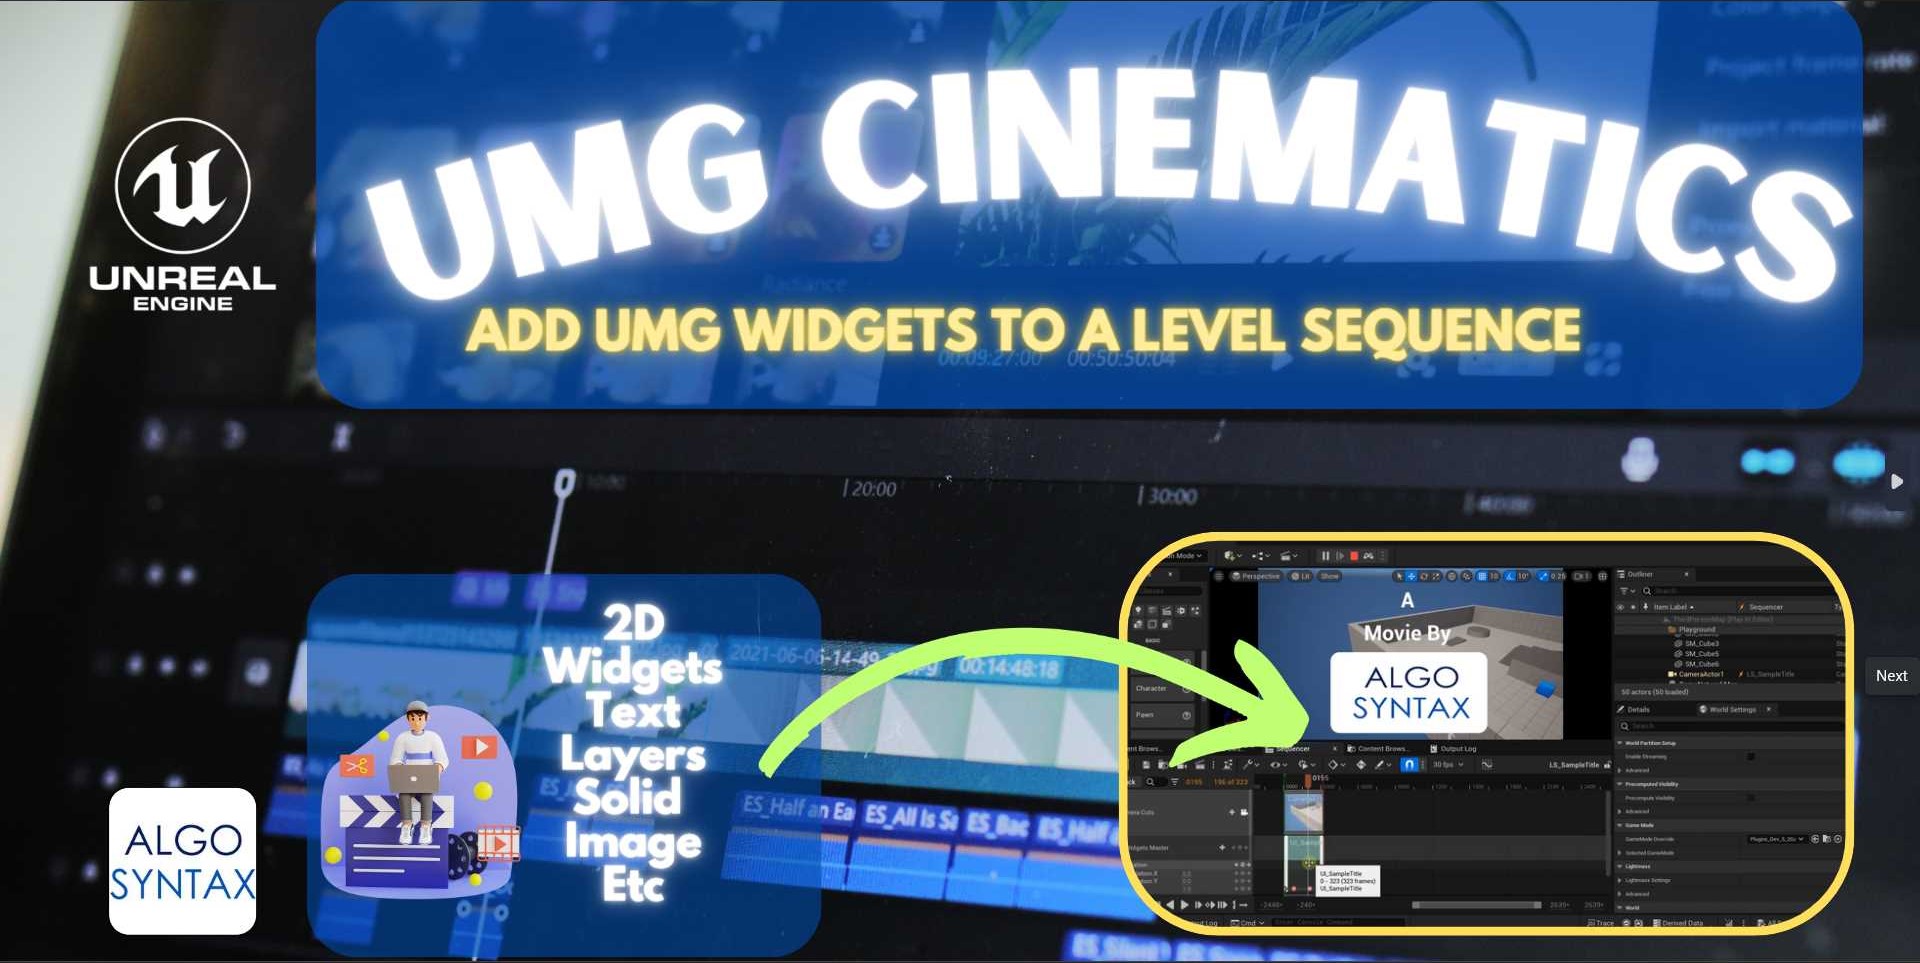
Despite all its advanced features, rendering UI elements such as UMG widgets within the Movie Render Queue can present a challenge. This is where the UMG Cinematics plugin can help. By introducing the concept of widget spawnables to the sequencer, it allows you to add and render UMG widgets directly in your cinematic sequences.
To do this, simply create a User Widget Blueprint, add a “UMG Widgets” track to a Level Sequence, and select your created Blueprint. Adjust the section length as per your needs and use keyframes to animate properties. Remember to add the “UI Renderer” setting to your Movie Render Queue preset to ensure the correct rendering of your UMG Widgets.
Conclusion
The Movie Render Queue in Unreal Engine 5 offers a powerful toolset for developers seeking to create high-quality cinematic sequences. Despite the challenges in rendering UI elements, solutions such as the UMG Cinematics plugin exist to make the process smoother.
Unreal Engine continues to evolve, offering tools and plugins that push the boundaries of what’s possible in game development. Whether it’s the Movie Render Queue’s impressive rendering capabilities or the convenience provided by plugins such as UMG Cinematics, the ability to create immersive, visually stunning games has never been more accessible.


